One of the childhood games I have loved is the spinning top, something boys in our neighbourhoods rollicked in and we girls yearned to master. It is so universal that babies can watch with their mouths open when you as much as spin a lid.
It's why used plastic bottle caps that often cannot be recycled by the recycling companies, can find a new life as spinning tops.
The only other major material you will need, is the toothpick. You can never have enough of them around.
Use these spinning tops while running your head over some corporate hassle, or get your child to make it and play. It's a tiny toy for children and adults alike.
I made a set of three with the bottle caps I have had lying around home.
Here, are some tips through the project that takes barely a few minutes.
Materials you need:
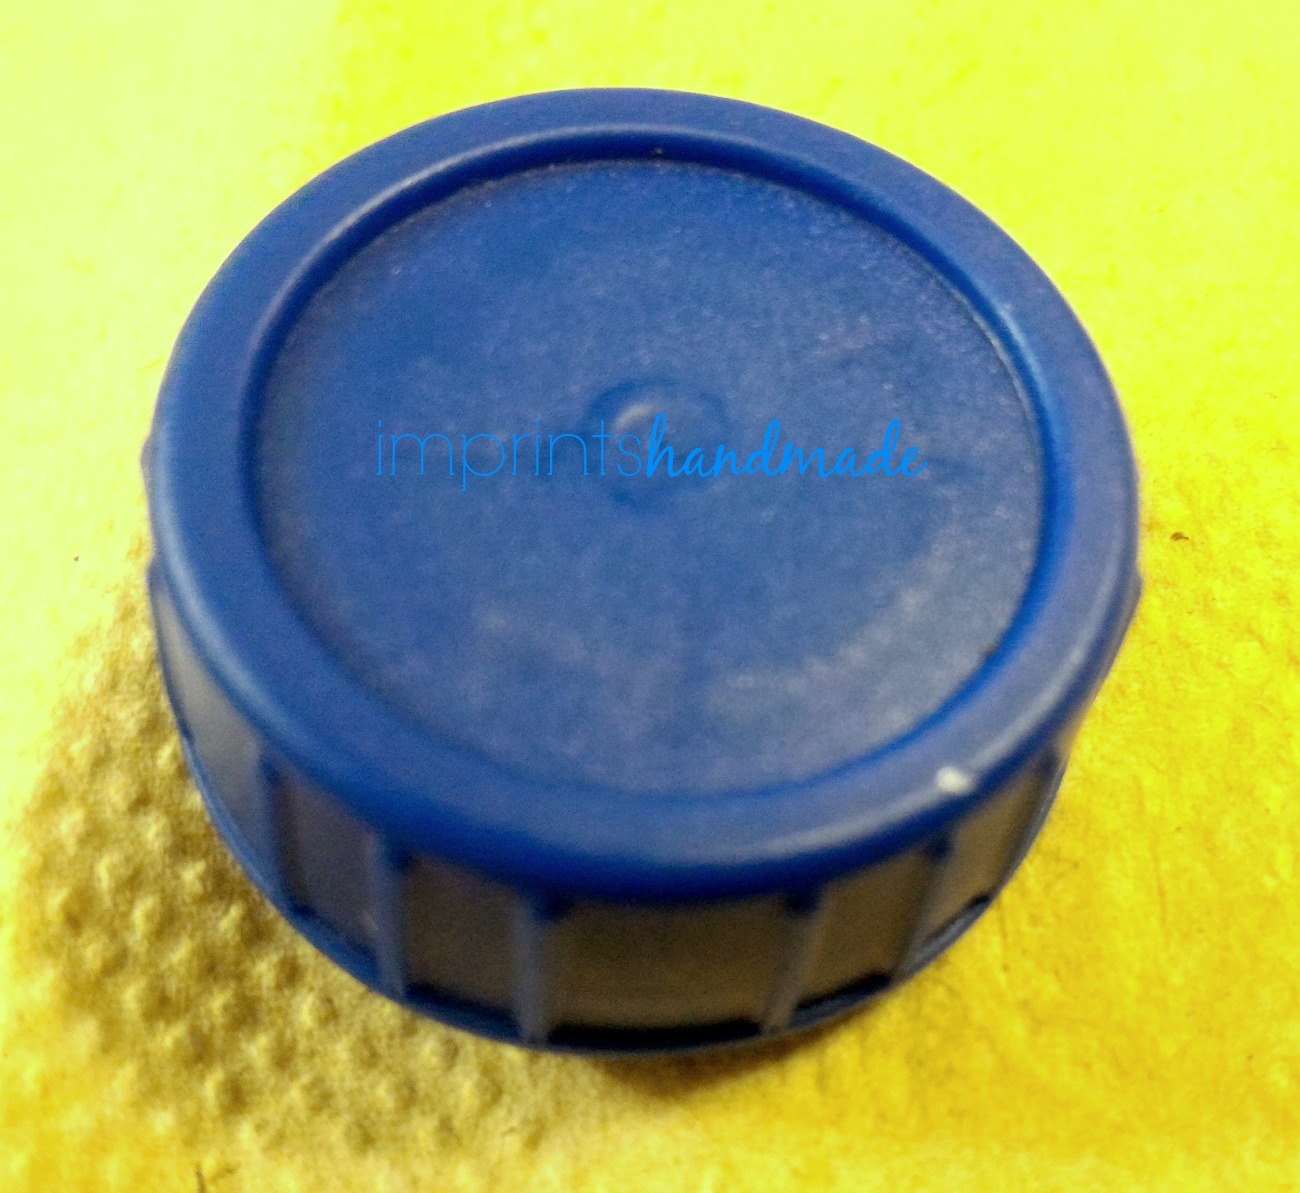
-- of course the plastic bottle caps - ideally small in diameter for a good spin
-- toothpicks of good quality
-- a long needle
-- nail cutter (if your bottle cap has protrusions)
-- crimp tools or nail cuticle pushers, or thicker tapestry needle
(I used a tiny nose-plier that is part of my jewellery tools stash)
-- optional - paint pens to decorate
-- craft glue - optional - if you want to embellish with sequins or stickers that is

The bottle caps need a thorough wash and dry before you start off with anything.
With an orange juice bottle cap, I found the center of the cap and used the long needle to poke it. An option they say, is to heat up the center of the cap. But it makes it too tricky because you never know the right amount of heat you need to poke a hole. It can simply melt it, and instead you may end up making a nozzle cap.
How quickly an easily you poke a hole depends on the thickness of the cap and the sharpness of the needle.
I started with an orange cap an it was a thick one, needing more push and some gentle taps with my nail clipper and plier.
\


It's why used plastic bottle caps that often cannot be recycled by the recycling companies, can find a new life as spinning tops.
The only other major material you will need, is the toothpick. You can never have enough of them around.
Use these spinning tops while running your head over some corporate hassle, or get your child to make it and play. It's a tiny toy for children and adults alike.
I made a set of three with the bottle caps I have had lying around home.
Here, are some tips through the project that takes barely a few minutes.
Materials you need:
-- of course the plastic bottle caps - ideally small in diameter for a good spin
-- toothpicks of good quality
-- a long needle
-- nail cutter (if your bottle cap has protrusions)
-- crimp tools or nail cuticle pushers, or thicker tapestry needle
(I used a tiny nose-plier that is part of my jewellery tools stash)
-- optional - paint pens to decorate
-- craft glue - optional - if you want to embellish with sequins or stickers that is

The bottle caps need a thorough wash and dry before you start off with anything.
With an orange juice bottle cap, I found the center of the cap and used the long needle to poke it. An option they say, is to heat up the center of the cap. But it makes it too tricky because you never know the right amount of heat you need to poke a hole. It can simply melt it, and instead you may end up making a nozzle cap.
How quickly an easily you poke a hole depends on the thickness of the cap and the sharpness of the needle.
I started with an orange cap an it was a thick one, needing more push and some gentle taps with my nail clipper and plier.
\


Once the needle went in and I managed to pull it out through the other end, Here is where, my tiny nose plier came in handy.

I inserted the cone-nose of the plier to expand the hole a little. You need to be careful with this part. Push only as much as you need. Pick up a paint pen and draw in a design on the cap.

Insert the toothpick. It is a bit of push and pull. Leave about an inch of the toothpick below the cap's lid.

I next tried this with a blue tetra-pack drink pack's lid. Barely an inch and a half in diameter, it was the most available colour.
This was fairly easy to poke the hole into.

I used the nail cuticle pusher tool that has a pointed end similar to toothpicks, to widen the hole a little.
The next step was to paint it. I used a while paint pen.

This bead that you see in the picture did not really work for me.So i had to remove it. Leave the paint for five minutes so it dries well. The next step was to insert the toothpick.
And another spinning top was ready. A tip you may find useful, is that I used a nail clippler to cut off the protective protrusions that came with the bottle cap. It took care to lift some weight off the cap and made the spin better.

I used a white cap too, that came with packaged drinking water bottle.

The spinning tops are ready to spin.

.\
You can try this with caps of different colours. Make sure they have a smaller diameter if you plan to use toothpicks.
For bottle caps and lids slightly larger in size, you may need to explore other spinning sticks.
When you poke holes, keep your hands safe. Be careful when you do this project with children.
Pictures Courtesy: Radhika M B
For permissions to use, write to:radicreative@gmail.com
No comments:
Post a Comment