Showing posts with label green craft. Show all posts

Tuesday, April 11

Nursery mobile with cardboard roll, DIY

One of the trends that has made me gape in awe is the sheer magnitude of products for babies these days. As a new mom wanting to give my baby the best, I am obviously tempted to buy more for the bundle of joy. 

But let's not forget that for every plastic toy we collect in the name of a child's learning and play, we add that much more to the earth's toxin burden. Sometimes these toys are a mere phase, leaving you wondering what to do with them. Nursery mobiles are a fad with parents. From colourful to sophisticated, they are a must for any nursery with a baby and crib.

For a change, I decided to make my own nursery mobile. I am not so satisfied with the resulting piece, but it's given me loads of confidence to make more of the kind and gift to babies.

It may sound a surprise, but the project really did not cost me a fortune. I had to make use of household craft stash.

What I used:

-- a pair of scissors

-- a duct tape ring leftover after using the tape up


-- embroidery skein of the same colour as the wrapping paper or ribbon or plarn to cover the duct tape ring
 (I used parrot green colour thread)


-- a needle and white thread

-- cloth flowers of accented shades

-- punches - circle and flower type


-- patterned paper, sequins, some household cardboard if need be

-- craft glue

-- soda can pull-tab...always keep these handy, you never know what they can be useful for


I began by wrapping the cardboard roll with plarn (plastic yarn that I made before with plastic shopping bags). You can try wrapping it with satin ribbon or some patterned paper. If you plan to glue up decorative paper though, make sure you have sufficient glue for it.


I let its end stay for a while, lest I would need it later. Now came the need for my embroidery skein. A white or jute twine could be your alternates here.

I started off by leaving some thread, about half a feet, and fixing sequins on it. To fix sequins, I picked up a pair, squeezed glue on to one of them, placed the thread over it to run through its center, and stuck on it another sequin of the same shape and size.


I used the craft punches to cut out circles and flowers from the patterned paper. Some flower shapes I had in stash earlier from mail trash. I left space of a few inches on the thread, and glued together another pair of circles from the patterned paper, and some flower shaped punched pieces from magazine recycle.


After this it was about tying the thread on to the cardboard ring. Try leaving irregular spaces, and do not stick to the same length each time you cut a piece of the embroidery skein. You can fix about five such pieces on to the roll. Add some pieces of ribbon and maybe knot it up on the ring to hang down alongside the threads.

I used long pieces of ribbon to tie through the roll for a handle on top of the mobile, and inserted the bunch of four lines of the ribbon into the soda can pull tab for buckling up.


Your nursery mobile is ready. This is a rather simple one. I hope to improvise though future projects. I am sure my baby will love this. The piece took some time to make, and was taxing, considering how busy the little angel keeps me these days. But it was worth the effort. I am waiting to see the reaction on her face when I hang it near her bed.


For re-use, write to: radiscribe@gmail.com

Tuesday, March 21

Spring-Summer wreath DIY

It's that time of the year when tendrils on branches turn a feast for your eyes. In the tropics it's summer already. Out here where I live, the last snow melts quick with the rising temperatures. The clock just sprang forward, and home-sters wait eagerly to fix their yard decor. As during any season, wreaths are common to door decor in the West.

A good wreath can cost your pocket too much though. If you are willing to spend a few dollars, and arm yourself with loads of patience, you can make wreaths at home. This project is available on the internet in plenty.

I used a pizza carton lid that was not soiled with the cooked pizza, and cut out a ring from it.

What you really need for this project, is a ton of gift-wrap tissue paper, or the paper we use to make kites in India, also known as Kite paper.

You will need:

Besides a pizza carton lid,

A pair of scissors

Gift wrap tissue paper or Kite paper (at least 15 sheets) in colours of your choice

Hot glue gun with a bunch of glue sticks for refill

pressing tool or maybe a popsicle stick

Tissue paper to wipe after using your glue gun

Plates of two sizes to draw out a wreath form or ring

Ribbon.

It's common for stores to entice you into buying wreaths for each season. So grab your scissors and spread out the sheets.


Use a steel plate that fits the pizza carton lid, and draw a circle.


Use a smaller plate and draw out another circle. This circle becomes a ring, allowing you to begin decorating.


I cut pieces from the colour sheets, of five inches by seven inches. The diameter of this circle ?(big one) is 8 inches. Now, roll the tissue pieces into irregularly shaped flowers. 


One end of the piece must be narrow, which you can twist. Stick this in with hot glue.Work on the outer part of this ring and then move towards the inner side.


The wreath I made looks like this, with the gap being hidden. But it is really the ring. Be careful when you work with hot glue gun. Keep it away from children, and certainly not in the proximity of your study. Also, when you work with the piece, use the vertical narrow end to twist and turn. And then stick. Fill in the gaps after sticking the outward looking folds by spreading out the broader end of the vertical rectangle piece.  Use a ribbon to hold the wreath.

When you use the glue gun, hot glue may stick to your hands, causing the fingers to burn. Keep a first aid kit ready. I love how the greens protrude.


Cut ribbon, about two feet long, so you can tie up the wreath to a door.


Enjoy the green wreath.

Pictures and content: Radhika M B

Write to: radiscribe@gmail.com

Tuesday, February 21

Basket ball for your office cubilcle DIY


An entire industry thrives on the office cubicle or corporate desk products. From desktop gods to photoframes, pen-stands, mobile-holders and expensive pen sets, the product list goes endlessly. I once made a miniature golf set for the office desk. This week, I got attracted to the idea of making a basket-ball set for the desk or a wall with a hook, or simply a shelf with door knobs, by hardly spending a penny on it. 

I love how in front of homes in our neighbourhood, basket-ball baskets are a must-fixture for kids to play. And all you need is a container to throw ball in. I had containers in the form of glasses, but no ball. The ping pong balls stash in my home has gone missing. And I have not been in the mood to shop afresh.

You need a few things for this project-in-a-jiffy.

-- a used gift bag (in paper) or cardboard -- the hard surface for it

-- used paper cup (I had a plastic cup, but a paper cup is anyday a better idea)

-- a small hold paper punch

-- ball point head pins (jewelry findings)

-- hot glue gun with glue sticks (optional) or tacky glue (optional)

-- tacky glue is optional or a stapler if you choose


I also kept handy some gift wrap tissue paper or kite paper. And a toothpick.


If you want to use a sheet of cardboard, the hard variety, punch holes towards its center along the top edge and fix a hanging loop with twine or wool. I started by using some tacky glue to stick up the folded end of the bag's bottom.

This is meant to firm up the bag's base.


Now hold the plastic cup against the gift bag, under the handles but centered enough.  Roughly gauge in your head, how much space you need to leave out before punching it.

The next bit is to punch holes in the paper cup by leaving about half an inch towards the center.


I then twisted two ball-point head pins together as one was not enough for the punched holes. The next bit was about inserting this into not just the glass but the other paper cup as well, and once this is done, secure it by twisting further, and bending it inwards into the paper cup. Your desktop or office shelf basket ball set is ready. I was only too eager to play, and so crumpled some gift wrap tissue paper that is helpful for the presents packaging.


You really do not need expensive toys for the office space. This sort of a project can work well for kids too, who have less attention span and tend to throw toys away after the first few days.

This is one way to reuse gift bags. You can involve your bored kids into this project. No sharp items around, not even a pair of scissors.


Pictures and content: Radhika M B

Write to: radiscribegmail.com

Monday, September 12

Potpourri with used festival flowers DIY

Festive season brings with it the colour splash that we look forward to, in shops, around street corners, homes, and every place that can possibly be decked up. What is sad what we end up with after the festival is over. Waste of all kinds. Of toxic idols that end up eventually in our drinking water, of decorations that end up in trash, of food that upsets our tummies, and pricey flowers that have nowhere to go but the dust bin.

I was lucky to find jasmine and roses in the recent weeks for my festival decor and worship. For a change, I preserved them for reuse. My Ganesha for this festival was tiny and homely as usual. More about that in another post.

While roses have their unique therapeutic properties, jasmine is a fragrance unmatched. I was surprised to find dried jasmine flowers, chamomile and other flowers sold online. It's true the price of flowers has gone up a great deal. And so it makes perfect sense to prolong their use.

Potpourri is meant to permeate fragrances by mixing essential oils with herbs, leaves, flowers and sometimes spices. It works well as aroma therapy. If you are prone to allergies though, best to check with a doctor before you start.

What I had among flowers and other items:

-- roses of three colours


-- some oranges whose peels I dried

-- jasmine flowers

What I used further:

-- essential oil ( I used sandal oil, you choose your favourite)

-- mixing bowl with a lid

-- jar with lid

-- Brown paper bag or cover

I also used;

-- coriander or cilantro seeds

-- cumin seeds ( jeera)

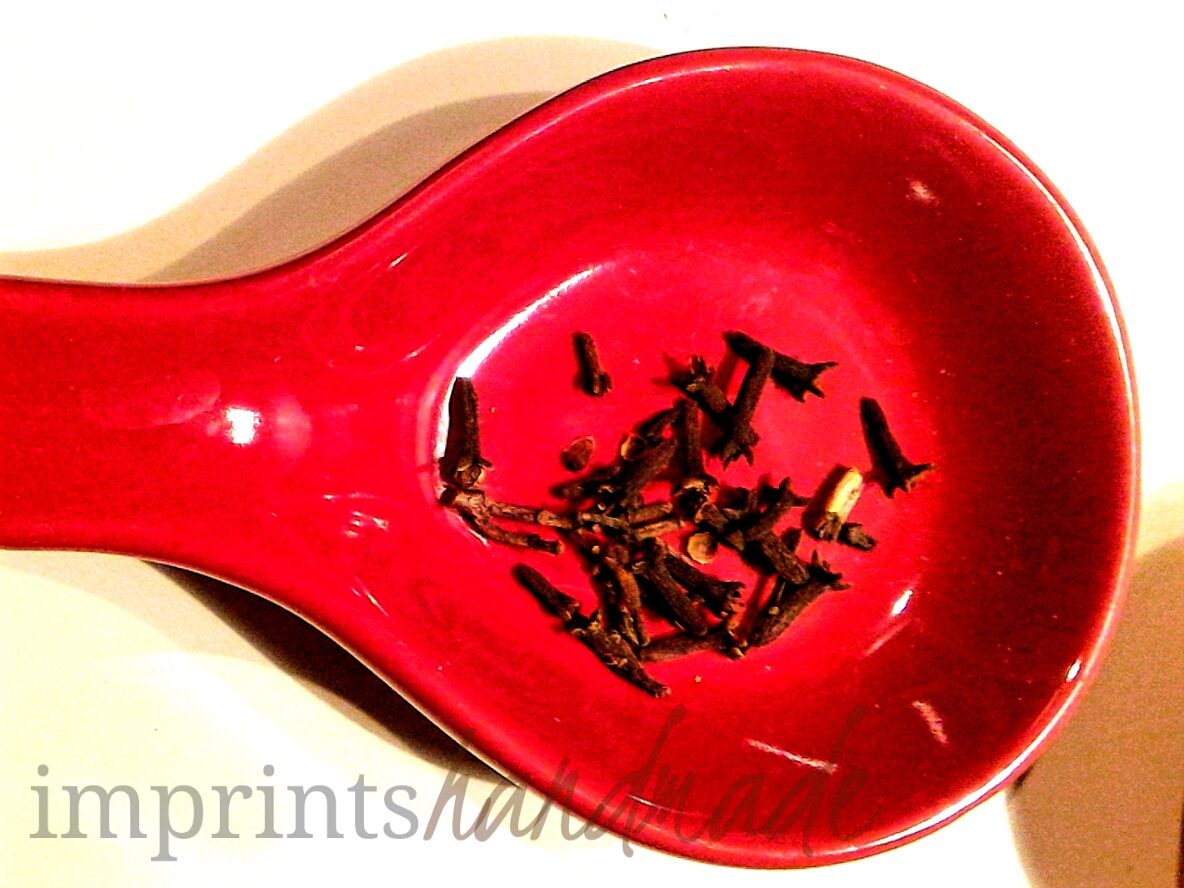
-- cloves


-- cinnamon powder (you can use sticks too)

Cinnamon sticks or powder, cumin seeds, coriander seeds and cloves are among ingredients that help lock the fragrance in. They are known fixatives that make the fragrances last, although another popular ingredient that potpourri enthusiasts head to shops for is the Orris root powder. You do not have to lose precious money over it when you have treasures in your own kitchen.

After my festival worship was done, I sun dried my flowers on a large plate till they felt brittle. I also dried peels of oranges that we used. Citrus peels are great for the mix. If you have nutmeg and other herbs, nothing like it. But use what you have and it works.

I took two handfuls of the rose and citrus mixture, threw in some dried jasmine, added a spoon of the coriander and cumin seeds and some cloves in the mixing bowl. To this lot, I added six drops of the sandal oil. You can add about six to eight drops of other essential oils too. This was my first time at a potpourri. I wanted to keep it simple. You may not get to be precise with the drops. Use an ink filler if you need to. Worry not about precision.

Use a lid to cover the bowl, hold the covered bowl between your palms and shake for about half a minute or whole. Alternatively, you can mix it all in a brown paper cover or bag.

Take this mixture and pour into an air-tight jar or container. Store it for at least a month, or about six weeks before you open the jar. It takes that long for the aromas to set.

Experiment with different essential oils and take a deep breath of the homemade fragrance.

You can display the jar at a centre table or at your office desk. Choose a cool dry place for it. Make sure the flowers have dried thoroughly before you start the mixing. You can also gift this to family and friends. Once it is ready, pour some into the tiny organza or nylon or jute sachets with draw-string, tighten and place them on shelves, near clothes, books, shoes...anywhere.

Nothing to match extended festival blessings in the form of fragrance, especially if it saved flowers from the landfills.

Pictures by: Radhika M B

For permission to reuse, write to: radicreative@gmail.com