After consistent pestering, my friend Bhumika from Bangalore, a super-woman, sent me this lovely picture of recycle craft collage that her toddler son Mitr and she made.
Looks super simple and fun, doesn't it? And what does it take? Not fancy glitter paper or expensive crafting apparatus. But simple advertisement pamphlet trash that floods your doorsteps.

How to do it? Self explanatory, ain't it?
You will need:
Kids love their hands getting sticky with glue! And the idea of messing up a place in excitement - how their eyes light up!
Their love for messing up comes in perfectly handy here.
Bhumika helped him cull out random shapes from the ad-trash. She suggests that since it is kids who are involved, it is better to tear these pieces. Together, the two stuck them on to the fish-shaped base paper in such a way. In doing so, pieces are likely to pop out of the base paper fish edges. Do not worry. You could cut out the extra parts later, says Bhumika.
For a toddler, this is a bit of an effort, and for you, an unobtrusive way of teaching alignment. Summer vacation in India draws to a close. Such a collage piece is useful not just for vacations but any leisurely weekend.
Guess where the cute collage fish found its way to?
The facade of their washing machine!


They stuck it up with fridge magnets.
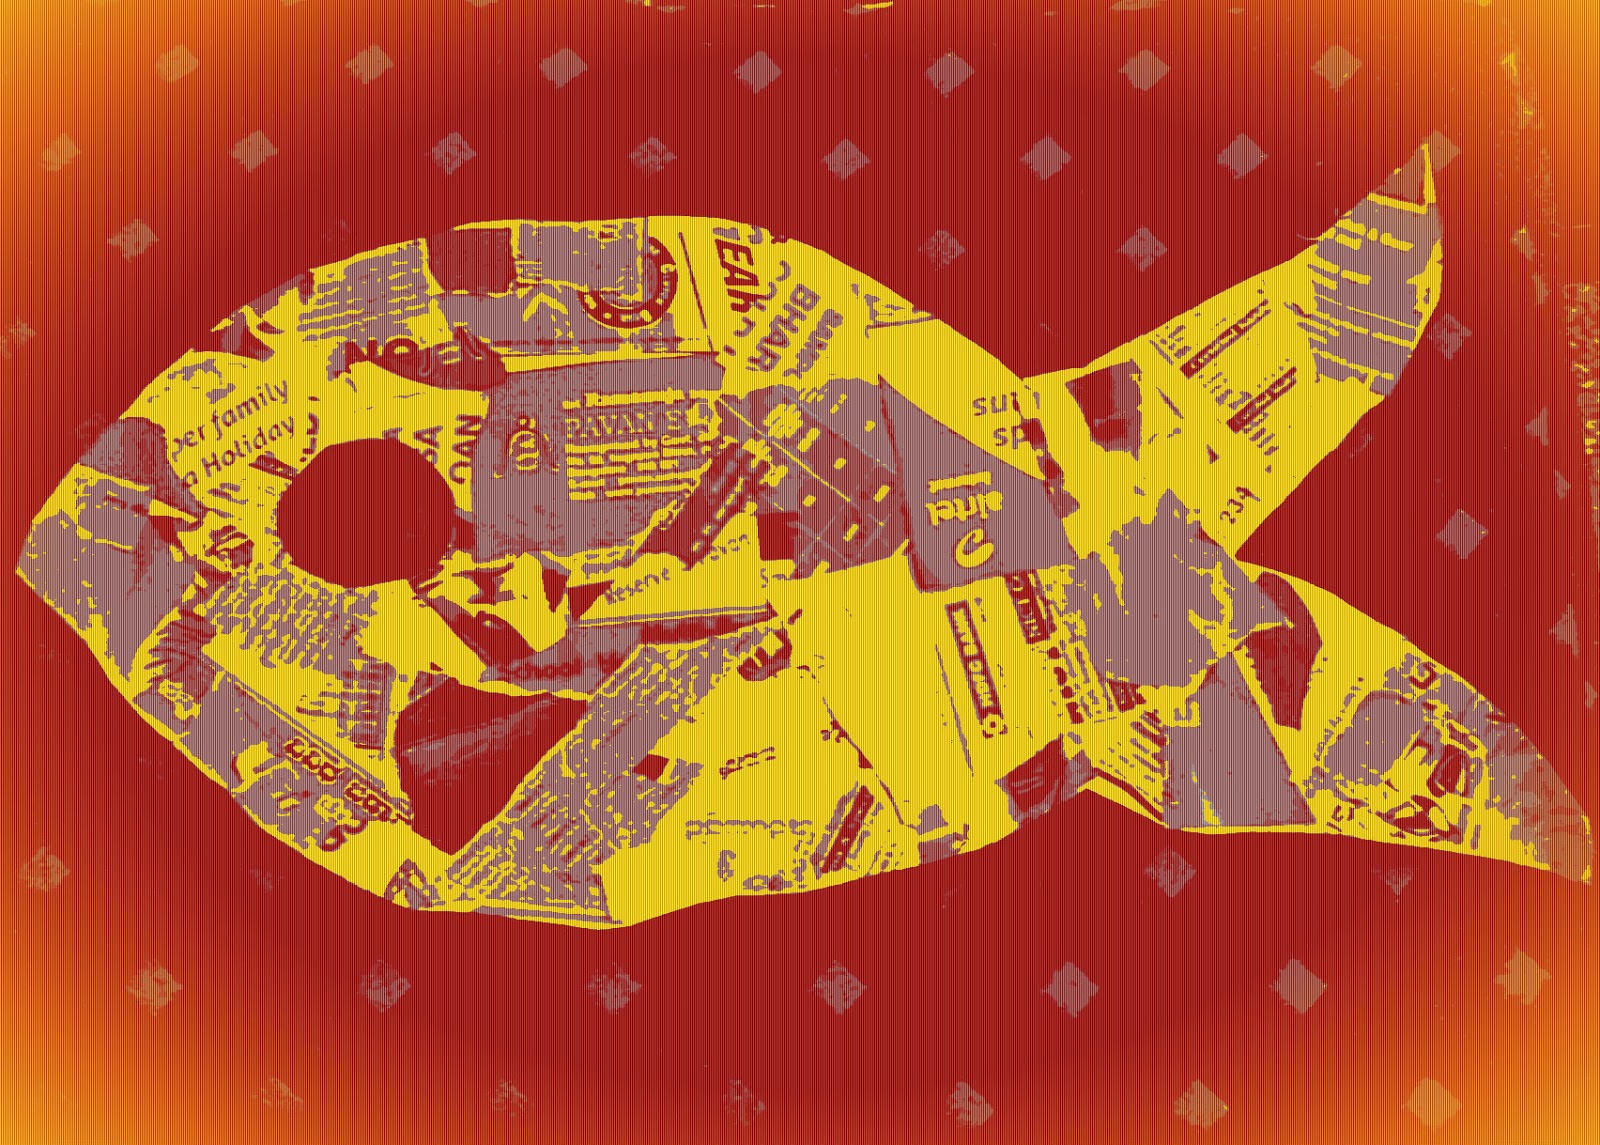
Meanwhile, I was so much in love with the rag-tag fish, that I tried my own experiments with the picture on Pixlr on my machine aka laptop.

You could try it too. It could be this fun way of using your kid's art to make something more permanent to frame and put up on your wall, or transfer on to some keepsake around home.
As for me, I had fun just playing with the different options on the online photo editing site.


Thanks a tonne Bhumika! You made my holiday fun enough!

Fishes and bicycles go together, don't they! Courtesy Gloria Steinem and Irina Dunn! Am all for printing this one and framing it up. Thanks to my li'l friend Mitr.
Picture courtesy: Bhumika K
Picture experiment courtesy: Radhika M B
For permissions to use pictures, write to: radicreative@gmail.com
Looks super simple and fun, doesn't it? And what does it take? Not fancy glitter paper or expensive crafting apparatus. But simple advertisement pamphlet trash that floods your doorsteps.

How to do it? Self explanatory, ain't it?
You will need:
- a pair of scissors
- a pencil to draw the fish out on a base paper
- a base paper of course:)
- some black glazed paper. alternatively, either construction paper or if lucky,
some ad page that has plenty of black from an old magazine - this is for the eye and fin
- loads of paper ads trash
- Glue or gum
- a big bottle cap, or small circle-shaped bowl - try anything that comes handy to draw out a circle for the eye
Kids love their hands getting sticky with glue! And the idea of messing up a place in excitement - how their eyes light up!
Their love for messing up comes in perfectly handy here.
Bhumika helped him cull out random shapes from the ad-trash. She suggests that since it is kids who are involved, it is better to tear these pieces. Together, the two stuck them on to the fish-shaped base paper in such a way. In doing so, pieces are likely to pop out of the base paper fish edges. Do not worry. You could cut out the extra parts later, says Bhumika.
For a toddler, this is a bit of an effort, and for you, an unobtrusive way of teaching alignment. Summer vacation in India draws to a close. Such a collage piece is useful not just for vacations but any leisurely weekend.
Guess where the cute collage fish found its way to?
The facade of their washing machine!


They stuck it up with fridge magnets.
Meanwhile, I was so much in love with the rag-tag fish, that I tried my own experiments with the picture on Pixlr on my machine aka laptop.
You could try it too. It could be this fun way of using your kid's art to make something more permanent to frame and put up on your wall, or transfer on to some keepsake around home.
As for me, I had fun just playing with the different options on the online photo editing site.


Thanks a tonne Bhumika! You made my holiday fun enough!

Fishes and bicycles go together, don't they! Courtesy Gloria Steinem and Irina Dunn! Am all for printing this one and framing it up. Thanks to my li'l friend Mitr.
Picture courtesy: Bhumika K
Picture experiment courtesy: Radhika M B
For permissions to use pictures, write to: radicreative@gmail.com


