Showing posts with label Felt. Show all posts

Tuesday, May 2

Travel tic tac toe case from Jewellery box DIY

What do you generally do with the jewellery cases from stores? I have forever been fascinated by the size and sturdiness of the jewel boxes that would find their way to mom's large cupboard made of iron, and get hidden away from prying eyes.

A box of that size can be put to umpteen uses after its original purpose gets served. I decided to embellish it, but not much. I love, love and love tic tac toe games.I love making tic tac toe boards. And the jewel box obviously came in handy. I have seen this game get used in umpteen spaces.

What I used for the piece:

-- a jewel box

-- cardstock to match or contrast it

-- optional is a thick felt sheet

-- a pair of scissors

-- hot glue gun loaded with a glue stick

-- embellishments are optional

-- paint pen (I chose metallic silver) to match the jewel box


In the jewellery case that I had at home, the velvet piece covering the hood of the box on its inside was missing. The other half it was half stuck on the inside. The first step, was to glue hanging pieces towards the cardboard.


I cut out a piece of cardboard from the cardstock I had. You get cardstock the width of large bookmarks. It is about trimming it to fit into the box. Insert it on the surface. I did not want to glue away everything. Just inserting worked.


Once you have adjusted them, use a paint pen to mark out the lines for tic tac toe game.


I used a popsicle stick, or an ice cream stick to mark out the straight lines.

For a tic tac toe box of this size, we would need small items to make it for the game. So the best bet for me was buttons.


You can also use beads.


If you noticed, there was an ugly sticker on the box. I just cut out another piece from the cardstock and stuck it on top of the jewel box. And your on-the-go tic tac toe case is ready. Tuck it into your bag or slide it into your pocket with the wallet, and indulge yourself with a fellow player on that plane, train or automobile.


Pictures and content: Radhika M B

Tuesday, February 28

Coin purse with felt DIY

The hardest part about small change, is not finding it when you need it the most. Ever got mad when you thought you spotted coins around home, or in the handbag, but when the time came to pay a toll, or buy a toffee, you struggled?

I remembered making a Christmas tree ornament a few months back with felt. And thought of putting it to use again. The felt sheets we get in USA are soft, more of a cloth variety and easy to work with like fabric. And so I made a coin purse. I hope to make more of them, just to tuck them away in corners so I can stash away not just coins, but buttons, beads, twist-ties and more.


You will need:

-- a pair of scissors

-- some felt sheets, ideally one

-- embroidery skeins to either match the felt sheet or contrast

-- embellishments such as sequins, or cloth flowers

-- thread to match the embellishments

-- a marker pen

-- a pair of magnets or press buttons, or velcro tape

-- optional is a hot glue gun or super glue


Start by cutting a piece off the felt sheet, about five inches wide and 10-12 inches long. Fold this sheet into three-folds, in such a way that the upper flap is about half an inch or one inch lesser than the second fold. This serves as the flap of purse.


Where the second fold meets the first, mark with your pen.


Round off the corners of the flap. Use a matching coloured embroidery skein, and stitch up some cloth flowers on to this flap. Make sure you spare enough space to do the Blanket stitch.


You may use extra sequins like the flower stamen that you get from craft stores.


Start the Blanket stitch along the flap. Once you have finished with the flap, move to join the first and second folds on the edges using the stitch.


You need not use the stitch on the bottom of the purse.Once you have rounded off the Blanket stitch on one side of the purse edges, move to the other side. Your purse is almost ready.


Here is where you get those small magnets out, or maybe press-buttons or velcro tape. Magnets that I had were self-adhesive. So it was just about peel-and-stick. You may use the hot glue gun or super glue if you have no self-adhesive magnets.


Stick one magnet under the flap, and the other to pair with it on the purse .


Use this to hide your coins. If lying around your living room, it makes for a cute decor piece. It makes for a good pull-out for your vanity bag. Or a gift for your friends and colleagues.


Pictures and content: Radhika M B

For permissions to reuse, write to radiscribe@gmail.com

Saturday, October 3

DIY styrofoam cup pin cushion safe: How to

Styrofoam containers and plates are a bane. Unavoidable at times, disgusting otherwise all the same. These days I prefer eating out a great deal. But these containers which we must pack our leftovers in only scare me. All the same, how to dispose them off is a bigger question.

One option: do not dispose them off. Re-use them, but just do not re-use them to store food.

I decided to give the containers we got home last week, a dual use.

A styrofoam container that can hold pins and toothpicks, and hide away some precious things I do not want lying around. You could try out this at home with broken plastic cups too.


I admit the decor is not all that great. But the good part is, I can use the same cushion in a different container of the same size.

1. Things you need for this project:


-- cotton balls or cotton batting

-- Styrofoam or thermocol food container or cup (don't go scurrying to buy one..wait till you get one)

-- Felt sheet (one or two depending on your choice of colour - I ended up using a whole sheet of mustard yellow and a strip of deep red)

-- Saree border (one and half inches width) to embellish

-- some thread, the embroidery variety and needle

-- a pair of scissors

-- some pins to stick on the cushion when it gets done

-- embellishments such as stickers are optional

-- keep some sand paper handy too

-- also,
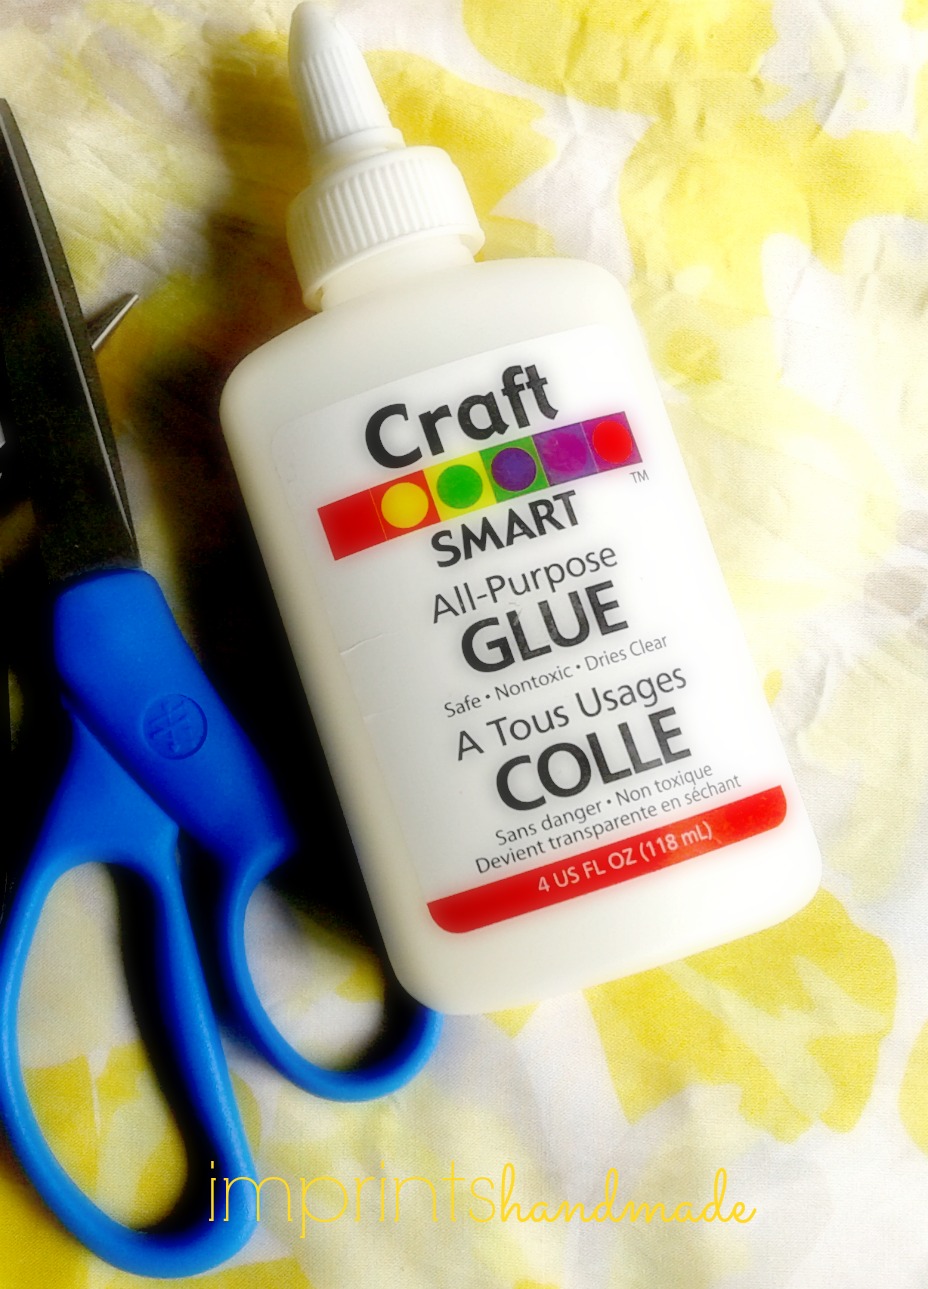
you need craft glue - multipurpose

2. The how to of it, 

Fold the felt sheet into four. And cut it to make it a round...I ended up with an oval shape. But circles are better.

Spread this out.


3. Keep a knotted thread in the needle ready for stitching. Fill cotton balls or batting into the centre of this shape, and cup the felt sheet around it to cover it up as much as possible. Remember you will need to hold this in one hand, and pick up.

Now, pleat the felt where its edges converge, similar to how you would pleat a saree.

4. Stitch through the pleats.


Leave enough gap for a finger to dig in so you can adjust the shape of this cushion in such a way, that it fits into the container. If you wish, you may tuck in another piece of felt into the gaping hole. I decided otherwise.

5. Use sand-paper to sand the side of this cup to embellish.

Recycle + upcycle styrofoam container + jewellery stash + earrings safe


How to make jewelry safe with pin cushion + DIY

6. Glue the saree border over slowly on this sanded surface. Remember that this can be tricky as the strip does not fit into the conical shape of the container. Either pleat it to stick better, or cut a little at intervals, from the lower edge.

Make a pin cushion safe for your jewelry + recycle styrofoam container

You can glue up the top end of the cup with an extra piece of felt.  

7. Hide away your little pieces of jewelry, keys, or simply a secret note. And tuck the cushion on it.

The pin cushion safe is ready. 

how to make pin cushion and hideaway safe with thermocol cup

Reuse styrofoam cups to make pin cushion and safe

If you do not want to use this as a hide-away for your items, you can go ahead and glue the cushion to the container's base inside.

Tips: My piece is not perfect. An option would be to embellish with stickers, as the smooth surface of the styrofoam can prove a challenge

Make sure you have enough cotton to fill. You can alternatively use tailoring waste, rolled up plarn (plastic yarn), or crumpled paper to add to the stuffing.

Do not aspire to make the most perfect piece for a start. You need something functional. Better pieces turn out with practice.

Good luck with your little project.

Pictures Courtesy: Radhika M B

For permissions to reuse, write to: radicreative@gmail.com

Thursday, October 18

Precious gifts come by post!

Some gifts are priceless. Not because of their translation into dollars or rupees, but the sheer love and effort that goes into them.

Last week, I waited desperately for a post to arrive. And what a wait it was, flipping open my metal mail box at least twice a day! When the post did arrive, I squealed with joy. My dear friend Ashwini of http://indulge-ashscorner.blogspot.com sent me a cute set of handmade gifts.


You may figure out that the little felt ball on the left in this picture, is a flower. Yes it is. But with a purpose. It is a coat-pin for my black winter coat!

The other two gifts,


 a lovely little soap bar that she made at home! And...

some body lotion, or butter as you would call it.

Ashwini's homemade soaps and lotions are a hit with her friends. I have met her, and let me tell you her skin is perfect, thanks to such lovely work with essential oils, basic home oils such as almond oil, olive oil and the likes from the kitchen shelf, and some soap base from the craft store!

I consider these my birthday gifts, even if she did not know and yet sent them over.

Big hugs to you Ashwini! Am inspired to make my own soaps now!

Thursday, March 8

Felt creativity in circles

I love bookmarks. Because I love books. I love making bookmarks too. Which is why it was so delightful when a friend put up pictures of her just made felt bookmarks in Facebook.

Inspired by similar pieces on the net, she turned out these lovely bookmarks I would want to have some day!

Here they are, bookmarks by Sarita Tukaram:

Felt satin ribbon bookmarks

Sarita has cut different coloured felt pieces and stitched them together. Some also have pieces of old cloth such as duppattas, bedsheets and the likes stitched on to them.


Satin ribbon felt cloth bookmarks

Old clothes sure can find their way back to something beautiful!