I requested the store-owner for a piece of waste paper, and packed a handful of this, something that I know can be used as party confetti on a later day.
Here are two simple things you can make out of such hole-punch waste. Hole punch craft is not as popular as the more captivating shapes-punch craft (such as birds, trees, flowers, Christmas trees and borders). But try it, and you will realize you do not need to spend big money on interesting crafts.
What you will need for these two pieces of craft-art:
-- a pair of scissors
-- punched paper dots or a paper hole-punch with colours that you want
-- a piece of wrapping ribbon or thread
-- some gift wrap tissue paper with a small gift that you plan, I used a small notebook
-- cardstock of A4 size or less in the colour of your choice, I chose brick red
-- some acrylic paint in either green, black or dark brown colour and a paint brush
-- craft glue in plenty
-- optional is some colourless duct tape for packing your gift
-- also optional is a tweezer and tissue paper


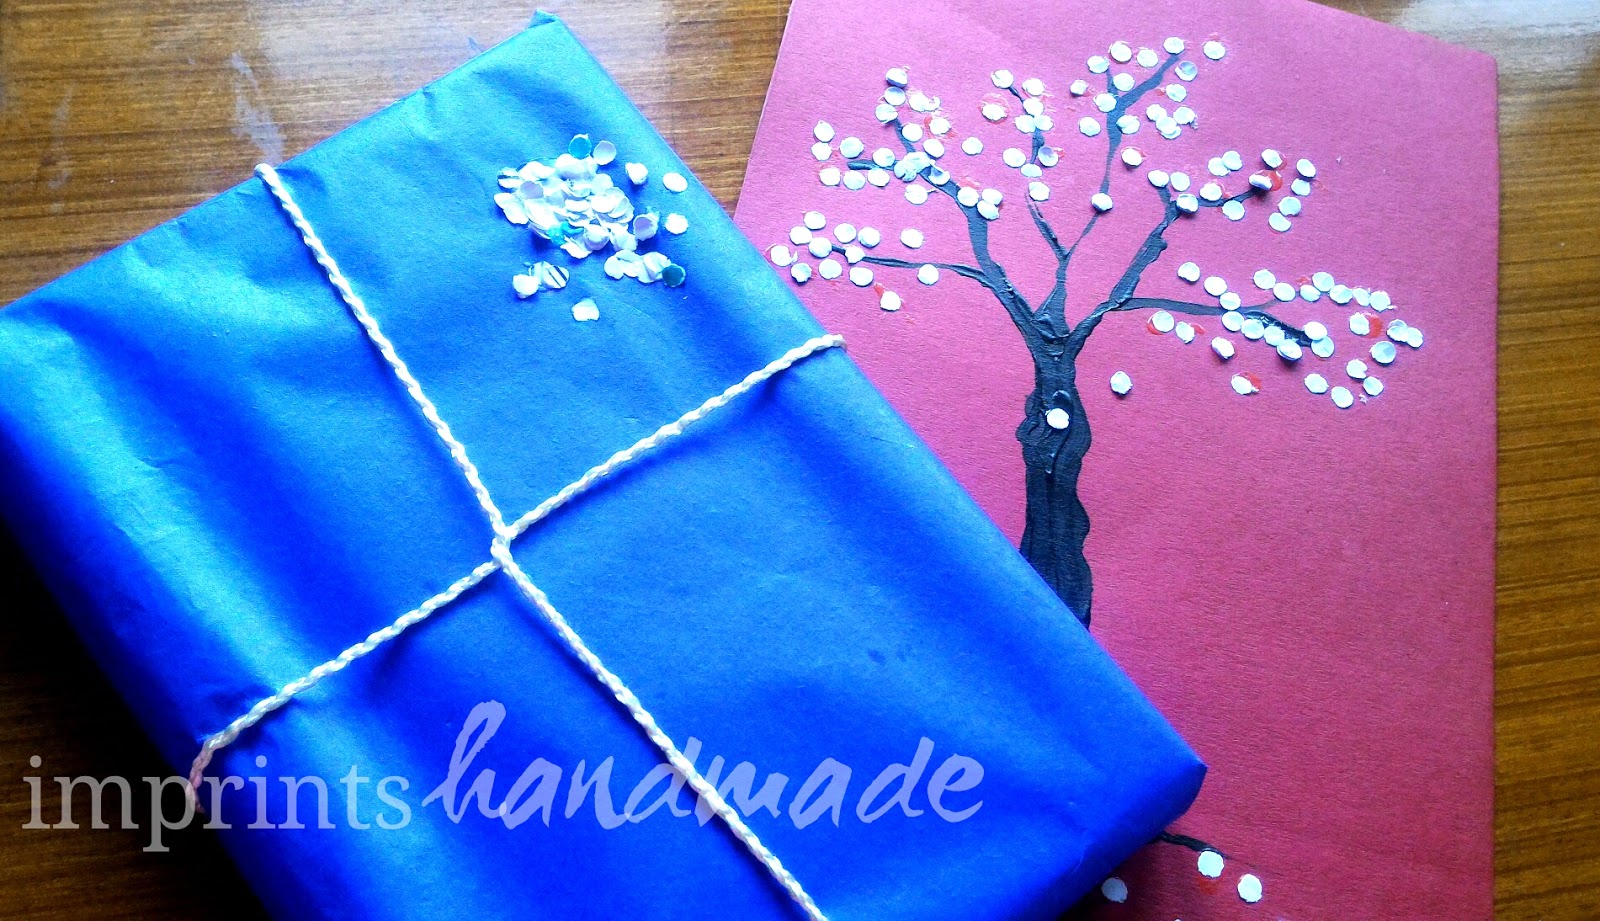
Pick cardstock of your choice, in the size that you desire. An A4 size sheet is ideal, but you can go for a smaller one too. Squeeze out some paint and use the paint brush to draw out a tree on the cardboard. Trees are universal, and as decor elements, they rock.

 '
'
Stick some dots randomly at the tree's bottom, to create the illusion of fallen leaves and give it the element of separation from ground. If the dots do not stick entirely, let them be, so you get a three dimensional effect. Remember, sticking may feel like the easiest thing in the world, but needs lots of patience. If you want to keep a tweezer and tissue paper handy, do it.

For the second piece, you need to pull out the gift wrap tissue paper or kite paper, pack your little gift with transparent tape using the scissors that you will need for cutting the paper to size. And tie the piece up in thread.


Your two little pieces are ready for use. You may try to engage your kid in a stick-and-make project and keep the young one occupied an entire afternoon. Put the wall decor piece up on the wall after framing, and pat yourself on churning a thrifty decor piece, or pin it up over the desk.
Pictures and content courtesy: Radhika M B
For permissions write to: radiscribe@gmail.com
No comments:
Post a Comment