That moment when you walk out the door, and realize you forgot a set of keys, either to the car, or to that office desk drawer...how often have we had those WTH moments?
You wish your house door sang out a checklist to you before you left.
An option would be to make yourself, a `doorganizer' mini-shelf. I am not talking the wood-worked and expensive variety, but one that will not cost you your purse.
All you need, is the duct tape or hardware work tape ring, in other words roll or cardboard.
This cardboard ring is thick, and can be used for a variety of projects. I have used it, to make a stash for my house keys.
This one can be used as a decorative piece too, to hold tiny toys. The materials you need:
-- Used up roll of a duct tape
-- piece of corrugated cardboard
-- some more decorative duct tape or `cello' tape
-- a pencil
-- self adhesive or double sided tape
-- a pair of scissors
-- 3-D outliners - colour of your choice
-- multi-surface craft glue
-- glue applicator or ice-cream candy stick (optional)
Method:
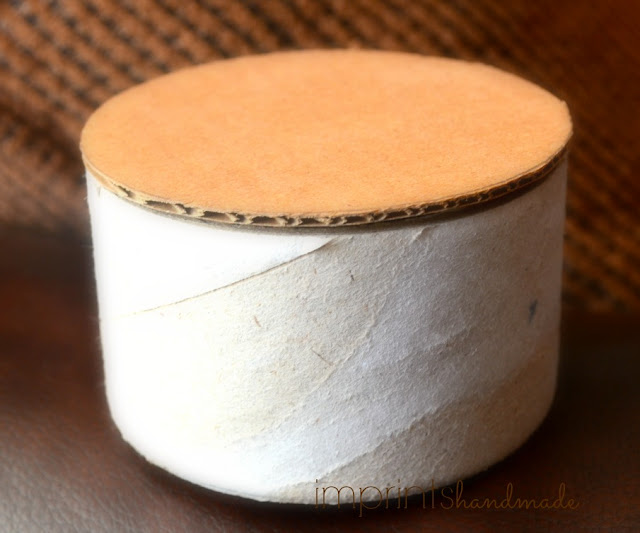
On the piece of cardboard, use the outer edge of the duct tape roll to draw a circle.
And cut the circle out.
Next, glue this circle to one side of the duct tape roll.
Let the glue dry out for about an hour.
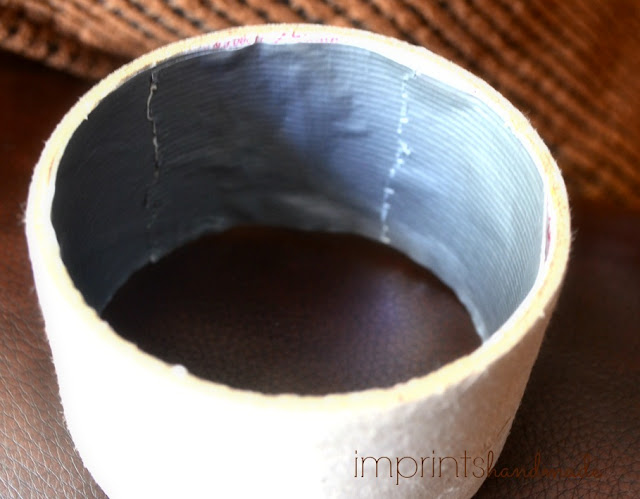
Use the other pieces of duct tape you have, to cover its inner wall. You may do this either before fixing the circular cardboard piece, or after. I did it before. This plastering may be a little tricky. Do not beat yourself up if the rough edges of duct tape show. Using scissors on this adhesive tape is a hassle too, as it sticks to the tool.
Wrap the outside of this ring, with another decorative duct tape. You can play with colours and patterns here.
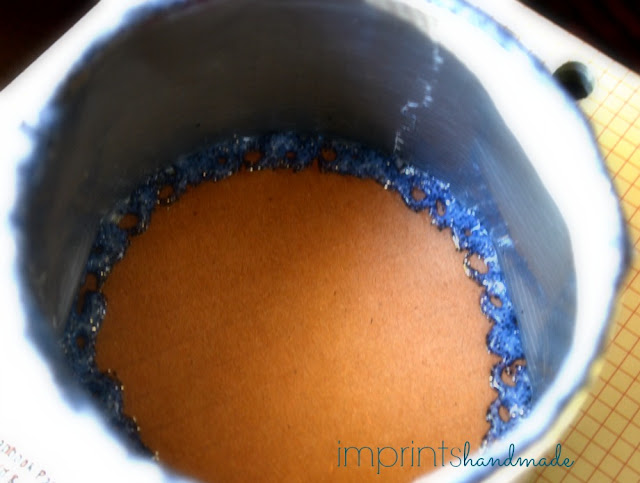
After fixing the duct tape, make sure to fill the top rind of the roll with a 3-D outliner.
This will take a while to drive...anywhere between an hour to two. I tried my hand at patching up the inner edges too.
Once it is dry, fix some self adhesive tape to the rear of the base you made with that circle. You can use this for emergency coin supply.
Or,
..as a watch holder.
I fixed it on my door to hold the house keys. True that the market out there has umpteen key holders with their hooks and decor element. But nothing like a home-made shelf sitting on my door.
Alternatively, fix a pair of earrings that you may want to grab on your way out.
Tips:
This grab-it shelf is meant for smaller objects and cannot hold heavy articles. If you need a multi-use one, you will need to make more such shelves.
Wipe off any glue stains on your pair of scissors
Let the 3-D colour squeezed, dry out enough before you use it
Use sufficient double sided tape to firm up the little shelf on your door. Smooth surface doors may be a problem.
Give yourself a pat when you walk out the door the next time. Your keys are right in front of you.
Picture courtesy: Radhika M BFor permissions to re use, write to: radicreative@gmail.com
You wish your house door sang out a checklist to you before you left.
An option would be to make yourself, a `doorganizer' mini-shelf. I am not talking the wood-worked and expensive variety, but one that will not cost you your purse.
All you need, is the duct tape or hardware work tape ring, in other words roll or cardboard.
This cardboard ring is thick, and can be used for a variety of projects. I have used it, to make a stash for my house keys.
This one can be used as a decorative piece too, to hold tiny toys. The materials you need:
-- Used up roll of a duct tape
-- piece of corrugated cardboard
-- some more decorative duct tape or `cello' tape
-- a pencil
-- self adhesive or double sided tape
-- a pair of scissors
-- 3-D outliners - colour of your choice
-- multi-surface craft glue
-- glue applicator or ice-cream candy stick (optional)
Method:
On the piece of cardboard, use the outer edge of the duct tape roll to draw a circle.
And cut the circle out.
Next, glue this circle to one side of the duct tape roll.
Use the other pieces of duct tape you have, to cover its inner wall. You may do this either before fixing the circular cardboard piece, or after. I did it before. This plastering may be a little tricky. Do not beat yourself up if the rough edges of duct tape show. Using scissors on this adhesive tape is a hassle too, as it sticks to the tool.
Wrap the outside of this ring, with another decorative duct tape. You can play with colours and patterns here.
After fixing the duct tape, make sure to fill the top rind of the roll with a 3-D outliner.
This will take a while to drive...anywhere between an hour to two. I tried my hand at patching up the inner edges too.
Once it is dry, fix some self adhesive tape to the rear of the base you made with that circle. You can use this for emergency coin supply.
Or,
..as a watch holder.
I fixed it on my door to hold the house keys. True that the market out there has umpteen key holders with their hooks and decor element. But nothing like a home-made shelf sitting on my door.
Alternatively, fix a pair of earrings that you may want to grab on your way out.
Tips:
This grab-it shelf is meant for smaller objects and cannot hold heavy articles. If you need a multi-use one, you will need to make more such shelves.
Wipe off any glue stains on your pair of scissors
Let the 3-D colour squeezed, dry out enough before you use it
Use sufficient double sided tape to firm up the little shelf on your door. Smooth surface doors may be a problem.
Give yourself a pat when you walk out the door the next time. Your keys are right in front of you.
Picture courtesy: Radhika M BFor permissions to re use, write to: radicreative@gmail.com


