Ever experienced the thrill of wearing something you made with your hands? It could be a dress, a cap, a necklace, a pair of earrings, anything...
Learning to make and appreciate the value of labour is the need of the hour in today's consumerist world. My friend and the ever-dynamic Sankgetha Sripathy who runs Smudgy Trove, has shared a tutorial of making cute animal earrings with clay. She has used polymer clay to make the stud earrings that you can easily learn and keep aside for a toddler, teen or wear yourself to show off at a party.
These simple pieces are conversation starters.
What you need:
-- polymer clay black, and white
-- super glue or multi-surface glue
-- knife
-- jump rings
-- cutting plier (jewellery tool)
-- nose plier
-- black stud with screw
-- headpin (jewellery finding)
-- and of course a must for these projects, an OTG oven
It's best to share one that a friend has bought if you do not have one yet and do not want to buy right away.

Roll two tiny round balls from the black polymer clay, using your palms and fingers. Press one ball between your palms and flatten it slightly. Repeat with the other ball.

Roll two tiny white balls and fix on the flattened clay to form an animal's eyes. You can add a super tiny ball to fix near the eyes, for effect.


Now insert the headpins through another cone that you roll, bigger than those weeny bit ears and the face, to form the creature's body.


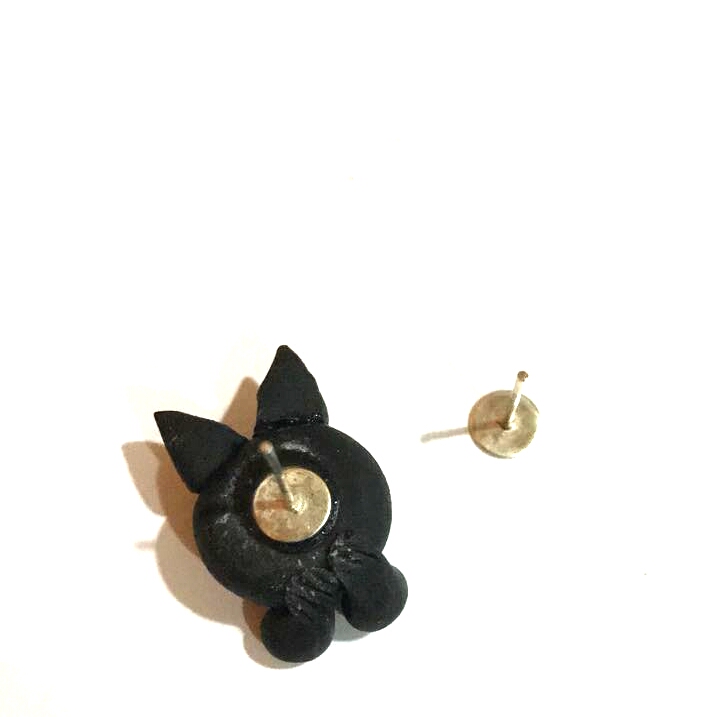
Time to take the stud, glue it using the super glue on to the rear of the face.


PICTURES COURTESY: Sankgetha Sripathy of Smudgy Trove
Content by Sankgetha Sripathy and Radhika M B
No comments:
Post a Comment