Often I wonder what our lives would be without plastic. Is it possible to eliminate it from our lives for good? We recently moved home and I faced the dilemma, of using sticky wraps of plastic sheets to secure my packing, or let it all go haywire.
I had hardly any breathing time to research alternatives. So although guilt ridden, I opted for sticky wraps, bubble wraps, and the likes.
It is when I unwrap my items that the guilt multiplies. So this week I decided to put the used sticky wrap to use, by using it as stuffing for a felt pin cushion.
What you need as basics is of course used sticky wrapping plastic, and a piece of felt.


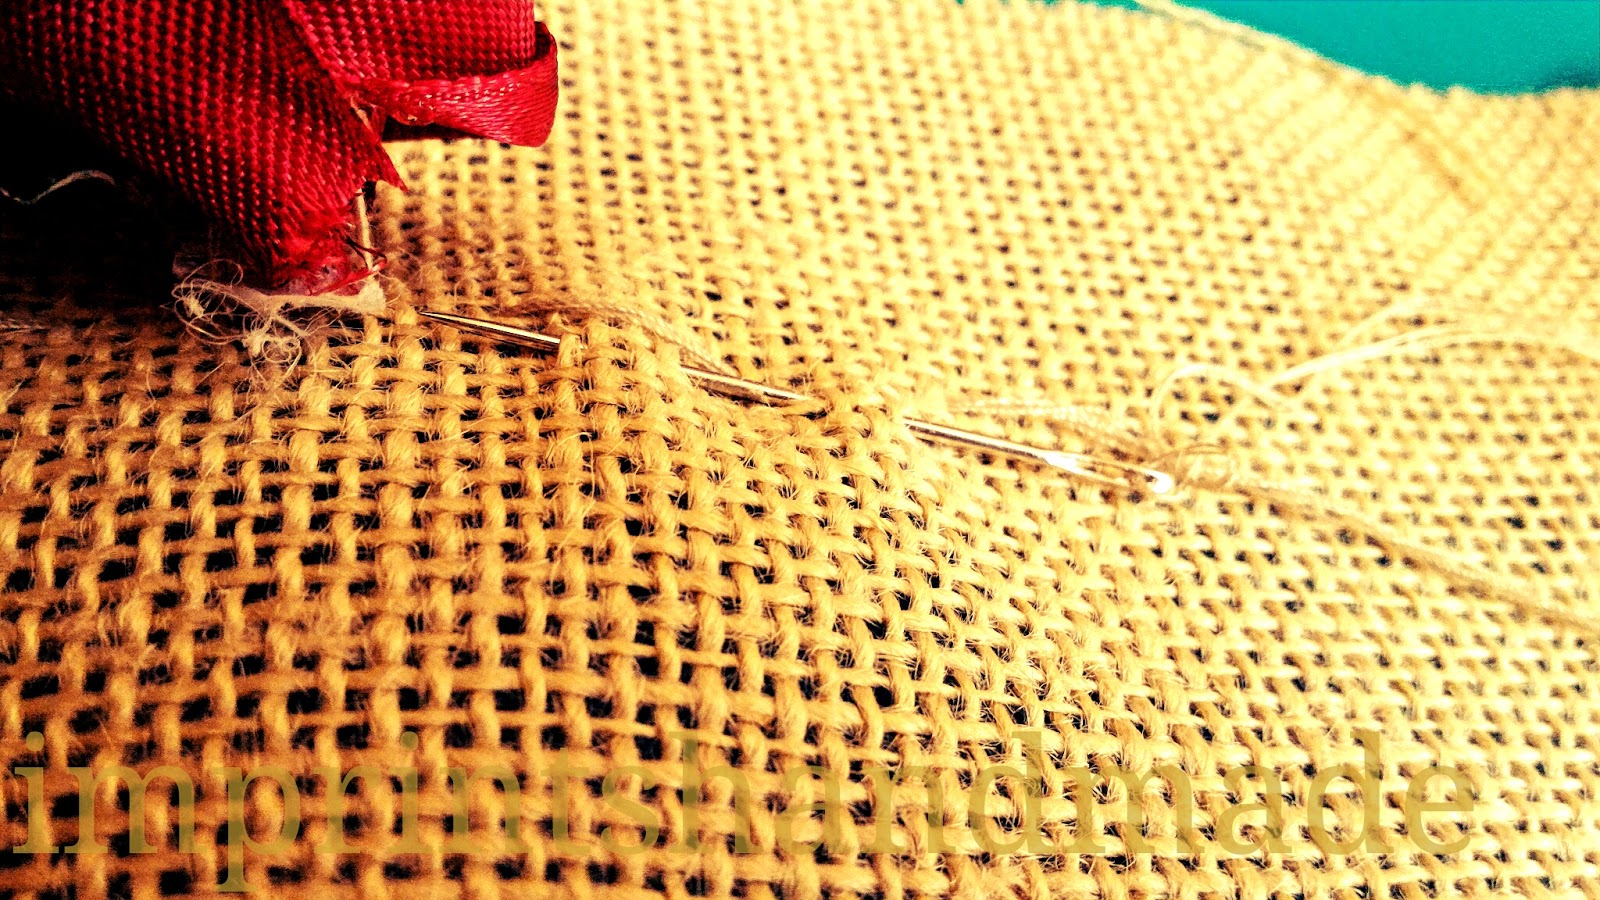
You will need to use a hemming stitch, and preferably threat that matches the edge of your ribbon or roll. After securing the ribbon on what I deemed, the rear of the felt pieces, I hemmed the roll on to the front and finished it by stitching it into the felt on the other end.

 Once this got done, it was about choosing betweeen adding more embellishments to decorate, or leave the beautiful design to shine through. I left the design intact because of the sheer contrast that was so eye catching.
The next step, was to knot an embroidery skein's piece at one end. I chose a colour that would work as an accented bit to match the ribbon design, and would stand out on the blue felt. And I used all the six strands on the embroidery skein for the stitching.
After this, it is about how good you are with the stitching of edges, using the button stitch.


Use this, to fix ball pins on your desk, or when you want to stitch, as a needle rest. You can also use it as a doll house floor cushion, or simply as a pillow for one of your child's dolls.
Pictures courtesy: Radhika M B
For permissions, write to: radicreative@gmail.com
I had hardly any breathing time to research alternatives. So although guilt ridden, I opted for sticky wraps, bubble wraps, and the likes.
It is when I unwrap my items that the guilt multiplies. So this week I decided to put the used sticky wrap to use, by using it as stuffing for a felt pin cushion.
What you need as basics is of course used sticky wrapping plastic, and a piece of felt.

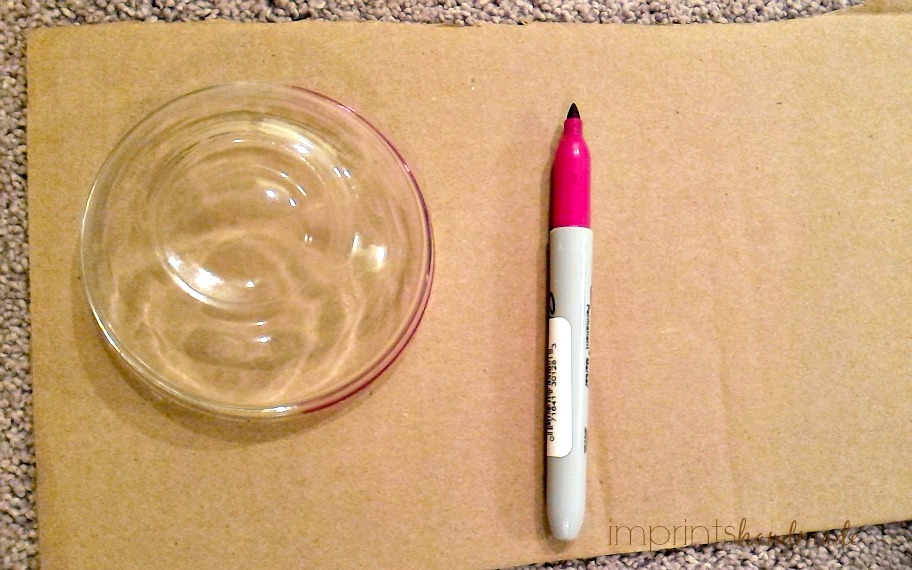
Among the other materials you need:
-- a pair of scissors
-- needle that is thick enough to poke through felt
-- embroidery skeins of - the felt sheet colour
-- decorative fabric rolls - or saree borders that are easily available
-- optional, a ruler
-- any other embellishments such as cloth flowers or sequins that you may deem fit
I used a decorative roll, and stitched up one end of it to the rear of one of the felt pieces. My felt pieces I cut from the main sheet, and measured about five inches on each side.

You will need to use a hemming stitch, and preferably threat that matches the edge of your ribbon or roll. After securing the ribbon on what I deemed, the rear of the felt pieces, I hemmed the roll on to the front and finished it by stitching it into the felt on the other end.


The next step, was to knot an embroidery skein's piece at one end. I chose a colour that would work as an accented bit to match the ribbon design, and would stand out on the blue felt. And I used all the six strands on the embroidery skein for the stitching.
After this, it is about how good you are with the stitching of edges, using the button stitch.


The button stitch came in handy, while at the same time giving a vibrant texture to the piece. You will notice in these pictures that the ribbon that got stitched looks not so straight. I let that be, to see how the final outcome would be. You will need to use the button stitch on three sides before you start filling.

The next step, is to fill this pouch that just got created. Roll the sticky roll on to your fingers and make mini-lemon sized balls that you can stuff in. Be gentle when you fill, and look for gaps. If you do not have sticky wrap, left over plastic bag pieces that are thin and cut can be used. Remember, this material is not like the cotton or other batting, and can be more messy to use. But it is worth the effort.


After filling the pouch, seal the fourth side with another round of button stitch. And end it by using a neat knot. Your felt pin cushion is ready.


Use this, to fix ball pins on your desk, or when you want to stitch, as a needle rest. You can also use it as a doll house floor cushion, or simply as a pillow for one of your child's dolls.
Pictures courtesy: Radhika M B
For permissions, write to: radicreative@gmail.com


