Tuesday, May 31

One big plastic drink bottle, two uses: How to

Searching online for that perfect piece of a kitchen utensil can be a pain if you have specifics about its make and looks. I got fed up with a search, for an extra ceramic jar to hold my stash of kitchen ladles. It's strange I cannot find the right one in the exact nano second I want it, when my soup is boiling away on the stove. Last week I noticed the plastic drink jar that got empty.

It was thick. It had a unique hand-friendly design. And it threatened to make me cry - I simply could not trash it.

Let's just say the need for a large container enough to hold ladles, and the availability of such a bottle coincided.

I needed one other thing in my kitchen, and scoured the internet away, with hardly any satisfying results - steel or copper funnel to ease storing grains. Too expensive. The drink bottle was a perfect fit for my need.


You can try this with thick plastic bottles that come with drinks or old plastic kitchen boxes that have a good depth. Use your discretion and get imaginative.

After the orange juice got over in my kitchen, all I had to do, was to wash it thoroughly. And bring out the craft knife.

The bright yellow cap I kept aside for future projects.

Among the other materials that came in useful for this project, were:
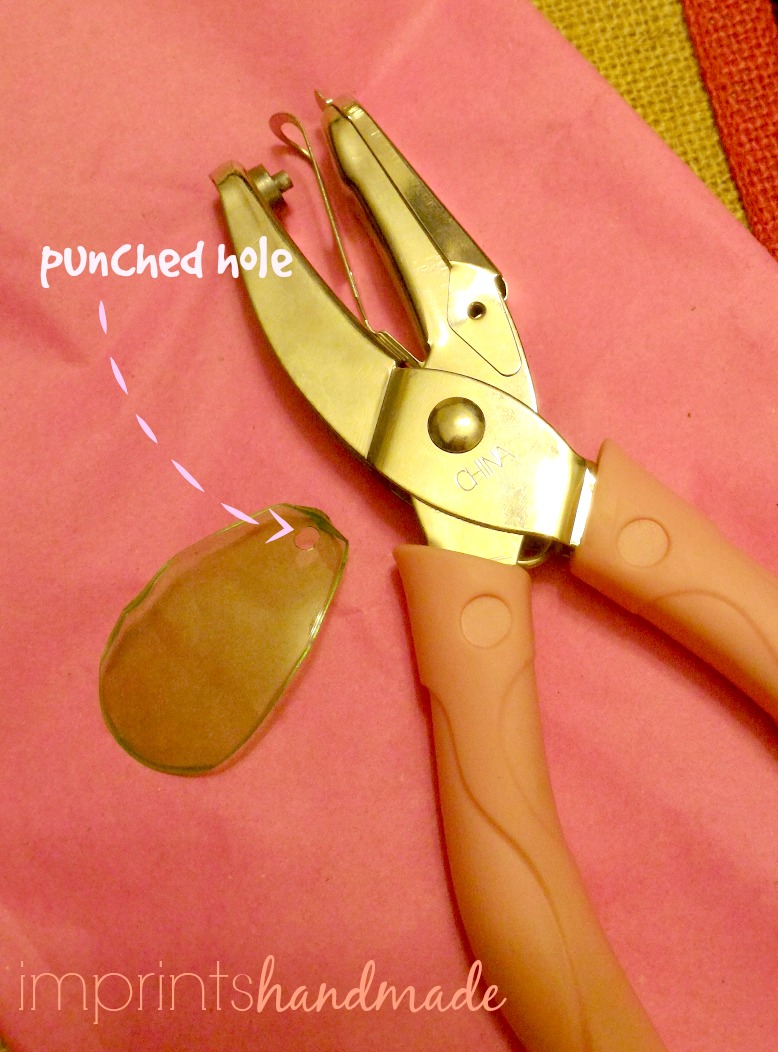
-- a nose plier

-- tweezer

-- candle and matchbox

-- fine-point marker pen

-- Gold hue paint pen to decorate

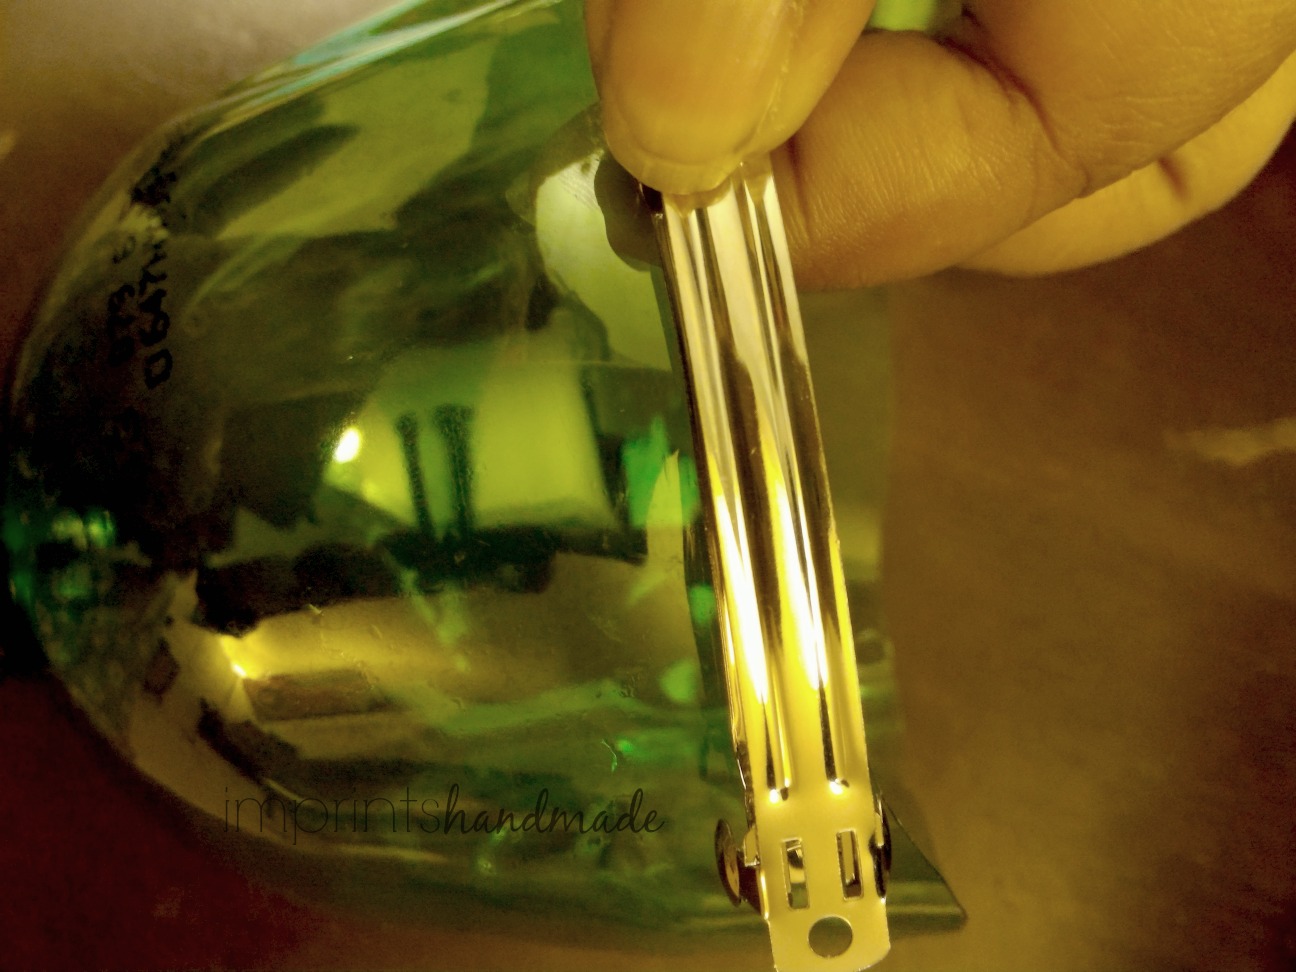
You will need to begin by marking out the exact line between the narrow mouth of the bottle and its broad base, that you want for - the funnel and for the ladle jar. I was lucky to find perfect contours on the container. You can mark out with the help of a masking tape.

Run the masking tape along the jar, and cut.


I am dreaming of the day I cut that piece of plastic with precision using my craft knife. The one I have is a sharp piece, but I am a long way from getting the angles right while cutting along cylindrical and elliptical bottles.


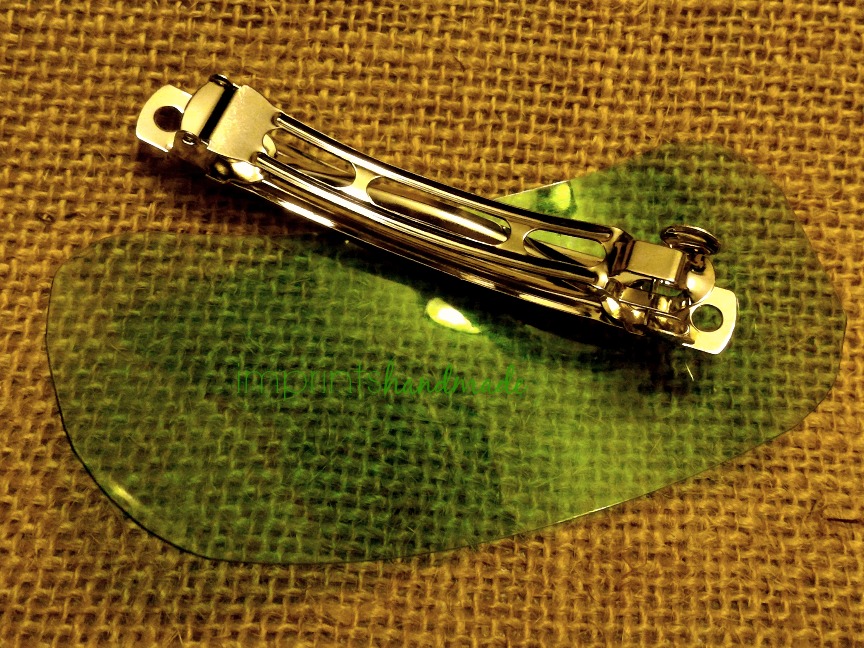
I made sure to pull out the `tab' ring from the funnel half of these two pieces.


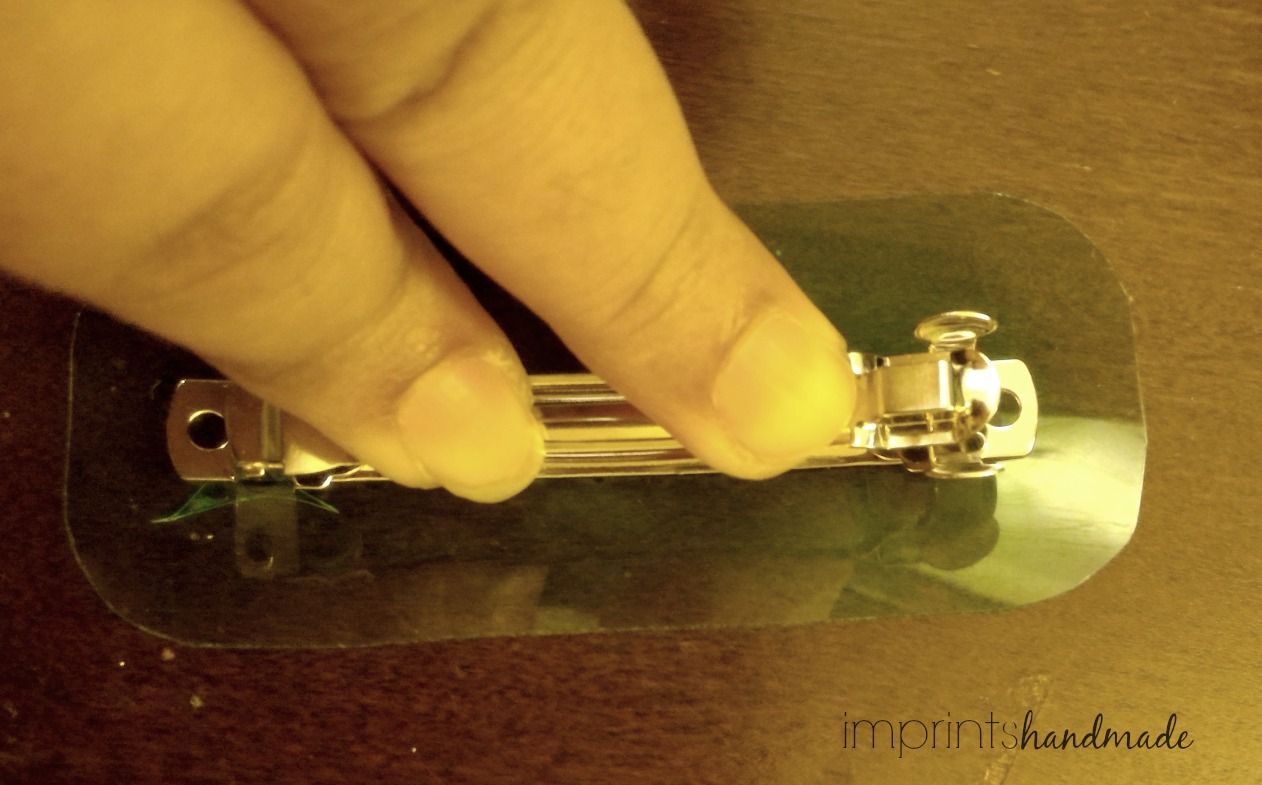
And trim the uneven edges a little with the craft knife, the way I used to sharpen a pencil as a kid. I had to be careful.


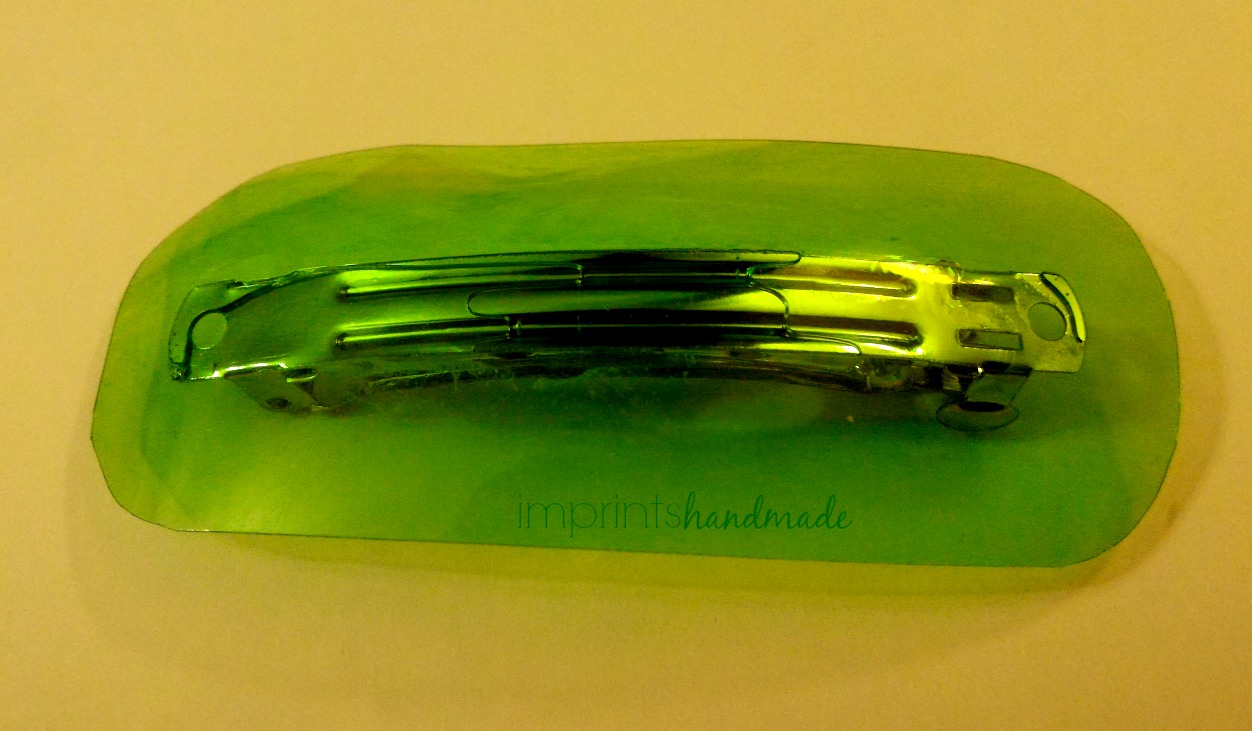
Now, you make cut the container into two with all the precision in the world, but remember, you will still have to deal with sharp edges that can hurt. Here is where a candle comes in handy.

I lit the candle using the matchbox, and ran the cut or sharp edges of the two pieces one after another, over its flame. The idea is to blunt the edges out. If you have the skill you can turn them into artful shapes. Beware. The fumes are not good. So do this in open air if possible.


The funnel got ready. Uneven on edges. But a functional utility piece that will ease my kitchen woes.


I ran the jar half of the drink bottle over the candle next. While I did not feel any need to embellish or paint the funnel, the jar cried for some colour. Out came my gold coloured paint pen. I used its contours and draw away some lines. And over its edges I tried a wavy border to go with its uneven edges.


And the ladle holder was ready for use.


I do not know how long it will last. I did save some bucks on not one, but two pieces I wanted for my kitchen use.

Here is how the funnel looks, and has started to find use.


When you set out for a similar project, remember to keep children away from your work area. Also, remember to work outdoors. Choose a container with thick plastic.

If the container has plastic that is less thick, it can be repurposed for other uses - jewellery/jewelry, toys, household pieces, and the likes.

Just do not buy a bottle for the sake of the project.


Pictures courtesy: Radhika M B


For permission to reuse content and pictures: radicreative@gmail.com

Tuesday, May 24

Mobile holder with chocolate syrup bottle:DIY

Ever wondered what to do with those ugly shampoo and chocolate syrup bottles around home? We come up with a ton of ideas with newspaper and magazine recycle crafts. Seldom do most of us venture into experimenting with plastics around home that glare at us in insidious ways and often oblivious to the eye.

Shampoo bottles, plastic jugs, syrup bottles, choco-drink bottles, they all come in handy in ways we do not predict. I have come across a bunch of online pictures about using a shampoo bottle to hold a smartphone while it charges. And decided to give it a try.

The result did not exactly meet my expectations - of it working as a smartphone holding station. But it works fine as a table top mobile holder. This project is meant for adults or college goers. Kids a strict no no.

You can limit a child's participation in decorating the piece after all the cutting.

Here is how I went about it.


What you need for the project:

-- a plastic bottle that can fit in your smartphone or cordless phone


-- craft knife

-- marker pens - thick and fine tip

-- paint pens of two colours

-- the plug or adaptor of your mobile charger for dimensions

-- optional - a pair of scissors

-- optional - embellishments that stick well on curved plastic (multi surface glue otherwise)


Start by thoroughly washing the bottle and drying it.

Next step, look for any available contours and mark out with your marker pens. My bottle was in the dark chocolate shade, which is why I picked up a gold colour and a bright red paint pen. But use the fine tip marker pen or a ball point pen to mark out for cutting.


Make sure to give it an arch-cut on the rear side and a straight horizontal cut to join the arch from its front side.


To ease your cutting process with the knife, mark out on the sides along the curved contours.


I am not a pro at cutting with craft knives. And you can see it in the way it got cut. Be careful with the blade of the knife. A destroyed bottle is any day better than a cut finger.

I flipped while cutting along the marked contours. And made use of the red border on the bottle sticker instead.


Here it is - the cut bottle. If you are a pro at it, the arch behind can become a smooth one, easing into the bottle's front portion.

The cut is not accurate, but who said you must get it right the first time?

I added a slit on the arch, with the hope of letting it hang on the plug while the smartphone sat in its pouch. And that is where it did not work out. The smartphone with the plastic pouch got too heavy to hang from an adaptor or charging plug.


So I let that be, and proceeded to colour away using the paint pens. This bottle did not have a removable sticker. The product label looked as if it was printed on the bottle. I did not want to mess with the embellishing part further, and simply chose to colour it.

Here it is after about two coats.


Using paint pens on this plastic needed several coats. When you colour with the pens, it is likely the print beneath smudges or mixed with the paint colour. Make sure to blot the pen into a tissue paper each time it happens.


Let the paint dry enough after each coat. At some point you realize the coating must stop. My bottle finally shone.

Paint the rear side of the container.


You can use sticker embellishments, but make sure to add in some multi-surface adhesive. Run the paint pen along the 1 mm thickness of the container in gold or red. Let dry for a while. And your smartphone holder is ready. My cordless phone fit i perfect in the piece.


When you do not use it for mobiles on your desktop, the container can double up to hold pens and pencils, and tools such as the craft knife.

If your bottle has a sticker, soak it in soapy warm water overnight, clean out the sticker label, scrub and rinse it well for use later.

Use this on your desktop or as a stash.


Pictures courtesy: Radhika M B


For reuse of content and pictures, write to: radicreative@gmail.com

Tuesday, May 10

Barrette clip and key chain charm with plastic bottle

Ever wondered what to do with a barrette hair clip whose decor element has fallen off? At times we wish that companies that made such fragile pieces learnt a lesson or two from vintage accessory makers. 
I bought a bunch of barrette clips and I have a few at home that look like boats lost in the sea. 
A large soda bottle that we bought recently for a family do got me started. I had a key chain, with its charm broken.
So the bottle worked for a two in one project. This one must be done in the absence of kids. At best, you can do this with a teenager.
Among the materials you need is of course a plastic soda bottle.


The other things you need:


-- tacky glue
-- paint pen
-- barrette clip - a piece with decor that has fallen off, or a bare new one
-- key chain with no charm
-- multi-surface glue
-- a pair of scissors
-- a craft stick 
-- sequins to embellish
-- small hole punch
-- jewellery plier
Wash the bottle thoroughly and dry before you begin.
You need to use a plastic cutting shear for the project. Using a pair of scissors that you have set aside for cloth or paper would affect the sharpness of the tool.
Cut part of the bottle.

You will notice the curve on this bottle that may vary from the bare clip's curve. A larger sized bottle is a better option than a smaller sized one, to help set over the barrette clip's arch. Cut a smaller piece from the bottle. But before that, measure the barrette clip against the bottle.

Jpeg


Cut a piece from the bottle to hold the clip in between, with a half inch space between the edge of the piece and the clip.

Jpeg


Optionally you may light-swipe the edges over a lit tea-light to give them a finished feel.Glue the clip to the piece with multi-surface glue and press hard.

Jpeg


If the difference in the arch of the bottle piece and clip is a problem, place a heavy object over the barrette clip. Leave it aside for at least half an hour so the glue sets and dries.

Jpeg


I meanwhile picked up another piece that I cut off from the bottle's chassis. And ran its edges over a tea-light.


Jpeg
The next bit, was to punch a hole in the piece that roughly resembles a water drop.


Jpeg

I then fixed a large jump ring to this hole, and connected it to the key chain using a jewellery plier.


Repurpose your large plastic drink bottle + key chain DIY

Before fixing it though, I doodled with my gold colour paint pen. The key chain with its charm is ready for use.


Plastic bottle upcycle, recycle, repurpose, re-use


The barrette clip with the bottle piece almost dried.

You will need some sequins to embellish the piece using tacky glue. The picture here shows it yet to dry. It could take a whole day or two to completely dry.


DIY Barrette clip from soda bottle


The pieces I made can go with dresses in white, off-white, golden or mustard colours, greens and yellows. I set aside the bottle's mouth for use on plastic sachets later. 

For now I dream of making use of every bit o the plastic. The bottom half I hope to use as a pen stand soon.

This project needs some patience. But hey, the plastic bottle did not go into trash. The other half of the plastic bottle I have preserved for making another item. Am currently Pin-storming on Pinterest. Yeah, Pinterest can make you addictive:)


Pictures courtesy: Radhika MB

For permission o re-use pictures or content, write to radicreative@gmail.com


Tuesday, May 3

Tiny bookmarks with ice-cream spoons for your kid: How to

It's that time of the year when you want to run from the sun, when the mere thought of a chilled drink is refreshing, when ice-cream is a welcome treat.

We know of the umpteen crafts we can make with ice-cream sticks, the choco-bar and candy-stick variety. When it comes to those wooden and plastic spoons, ideas dry up. That is partly because we feel them limiting aesthetically. If you think a little out of the box, you will fall in love with the shape and versatile feel of those little pieces.

It's true the longer rectangular flat sticks feel universal. No harm in trying something with spoons that must end up in trash.

Here is a project that will keep your toddler occupied on a non-summer camp day, or a non-soccer day.

My little neighbour leaves me with a bunch of souvenirs during her visits home - stickers that she loves to fix on paper. Watching her do it with focus and earnestness is something I love.

And so the `used' stickers came in handy.


At times I am tempted to simply frame these for decor's sake.

Other things I used for the quickie project that you can sit with your little one and do:

- Craft glue

- Washi tape

- a pair of scissors

- paint pen or paint marker


- not to forget, used ice-cream spoons.


Make sure to thoroughly wash the used spoons, in a bowl of hot water. Wipe them clean before you start.

I wanted to try two different styles. For the first, I simply used the paint pen, which one must shake and depress the tip of the marker before it becomes good to use.

Apply the paint pen in strokes, on an ice-cream spoon.


Watch your hands while using. Make sure to wash off the paint immediately if it sticks to hands. Keep a clean rag cloth handy.

Use the marker on the main surface, let dry, and then on the other side. After the two sides dry, hold the spoon between your fingers and paint on the edges.

I let this dry and picked out the stickers, trying them to see if they fit the size of these spoons. The butterfly 3-D stickers fit the best.


So I pulled one out. It had a self-adhesive tape on its rear.


To prep another ice cream stick for this, I stuck the Washi tape on its surface.


I let it be, and used craft glue on the self adhesive tape used surface of the butterfly sticker, and fixed it on the tip of the spoon that you dig into the cup.

For the red painted surface, the 3-D sticker of a cat fit. Make sure to press the glued surfaces hard so the glue sticks. Allow time for the sticking.

I brought out the paint pen again and doodled on a third spoon, with another sticker.


And so the glued and painted spoons with stickers got ready.


You will notice that once they go under the pages of a book, their shape does not become a hindrance in any way. Do this as an afternoon project with your kid. If there are no kids, you can always make these - a few of them, tuck in your purse and give away when you meet them - any day better than giving them chocolates.


Alternatively, keep them on the desktop for some colour. You can fish out an old jewelry box that fits these in and tie up with a satin ribbon to make it a good gift.


Pictures and content: Radhika M B


For permission to re-use, write to: radicreative@gmail.com